
Grow with Confidence:
Mastering the Art of Seed Germination at Home with These Easy Methods!
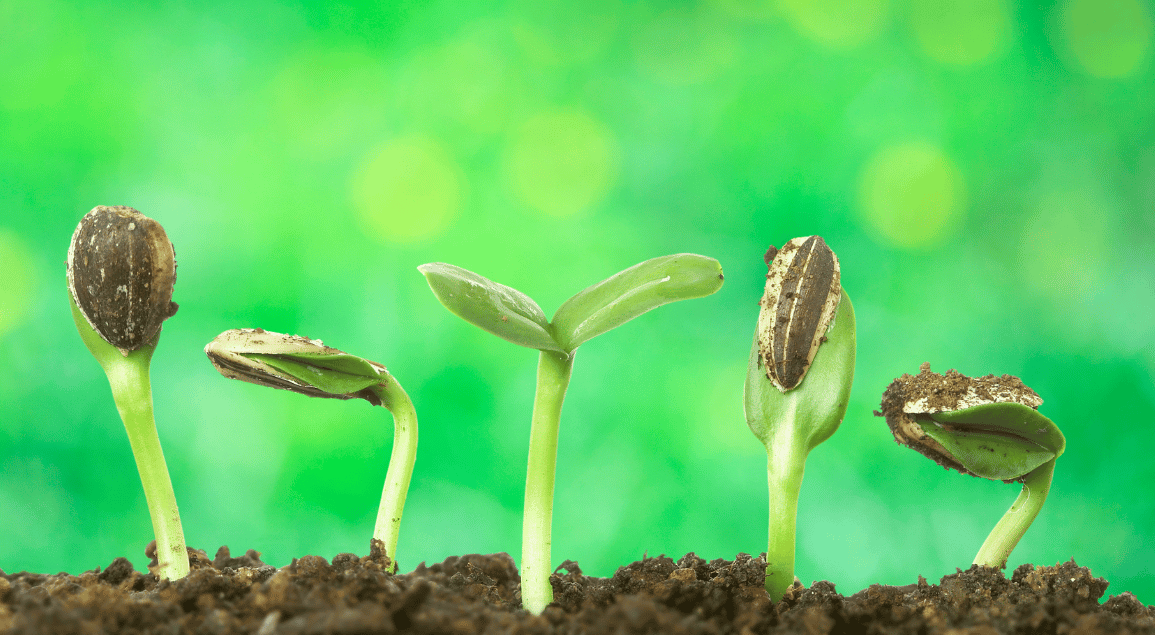
As a gardener or someone who enjoys growing plants, it is crucial to know how to test seed germination. Seed germination refers to the process of a seed sprouting and developing into a plant. Testing seed germination is essential because it helps you determine the viability of your seeds and how many you can expect to grow into healthy plants. Here are some ways to test your seed germination at home:
The Wet Paper Towel Method
This is a simple and popular way to test seed germination. All you need is a few sheets of paper towel, a sealable plastic bag, and some water. First, moisten the paper towel and wring out any excess water. Then, place a few seeds on the paper towel and fold it up so the seeds are covered. Next, place the paper towel inside the plastic bag and seal it. Keep the bag in a warm and dark place, and check it every few days to see if the seeds have sprouted.

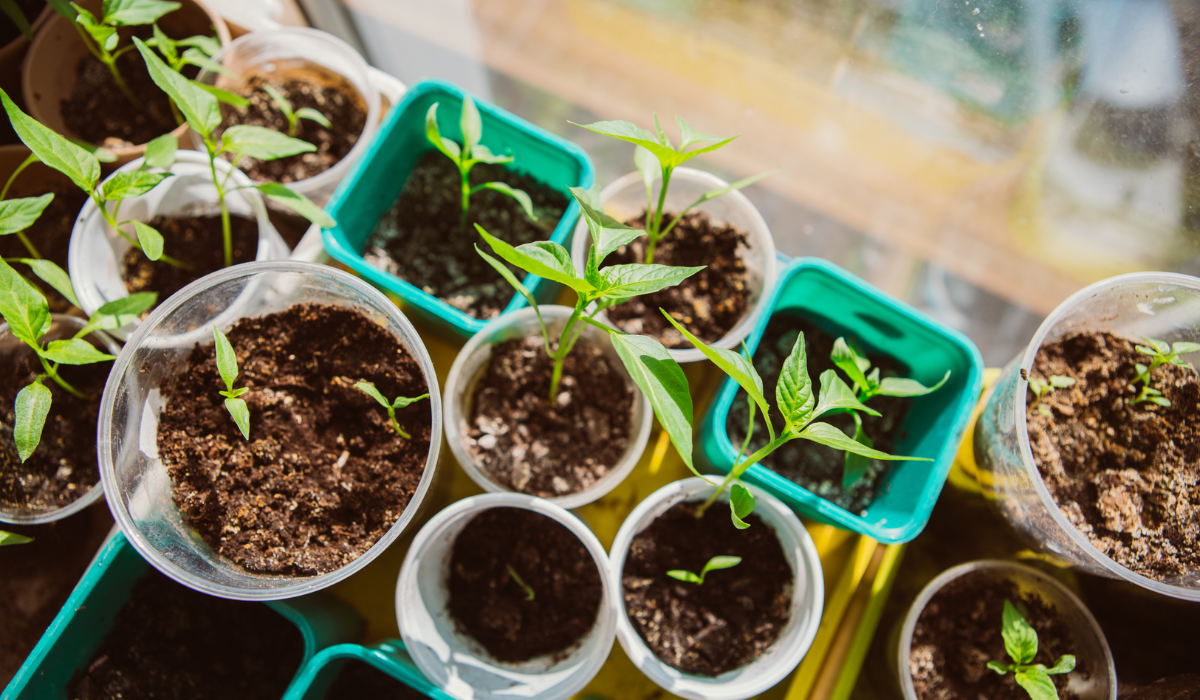
The Soil Method
This method involves planting your seeds directly in soil. Fill a small container with soil, then plant a few seeds in it. Water the soil, cover the container with plastic wrap, and place it in a warm and dark place. Check the container every few days to see if the seeds have sprouted. This method provides more accurate results than the wet paper towel method because it simulates the actual growing environment of the seeds.

The Float Test
This method is useful for testing the viability of older seeds. Fill a container with water and place your seeds in it. If the seeds sink to the bottom, they are still viable. If they float, they are likely no longer good. The float test works because viable seeds are denser and will sink in water, while non-viable seeds are lighter and will float.

The Seedling Test
This method is more involved but can provide the most accurate results. First, plant your seeds in soil and allow them to grow for a few days. Once the seedlings have emerged, carefully remove them from the soil and count the number of seedlings. This will give you a rough idea of how many of your seeds have germinated. This method also allows you to observe the health and growth of the seedlings, which can provide additional insights into the quality of your seeds.

The Sandpaper Method
This method is useful for testing the germination of hard seed coatings. Some seeds, such as morning glory or sweet pea, have a tough outer layer that can make germination difficult. Gently rub the seed with sandpaper to create a small scratch or abrasion on the seed coat, which will allow moisture to penetrate the seed and promote germination. Plant the seeds as you normally would, and monitor their progress.

The Pre-Sprout Method
This method is useful for seeds that are slow to germinate or require a longer growing season. First, soak the seeds in water for several hours or overnight. Then, place the seeds in a container lined with damp paper towels and cover it with plastic wrap. Keep the container in a warm and dark place, and check it daily to make sure the paper towels stay damp. Once the seeds have sprouted, plant them in soil and care for them as you normally would.

The Parchment Paper Method
This method is similar to the wet paper towel method, but uses parchment paper instead of paper towel. First, moisten a piece of parchment paper and place it in a sealable plastic bag. Add the seeds to the bag and seal it. Keep the bag in a warm and dark place, and check it every few days to see if the seeds have sprouted.

The Soil Temperature Method
This method is useful for seeds that require specific soil temperatures for germination. Use a soil thermometer to measure the temperature of the soil where you plan to plant your seeds. If the soil is too cold, warm it up by placing a heating pad or a light bulb under the container. Once the soil reaches the ideal temperature, plant the seeds and monitor their progress.

It is important to remember that seed germination rates can vary depending on factors like temperature, humidity, and soil quality. For example, some seeds may require specific temperatures to germinate, while others may need to be exposed to light. Additionally, the germination rate can be affected by the age and quality of the seeds, as well as the storage conditions.
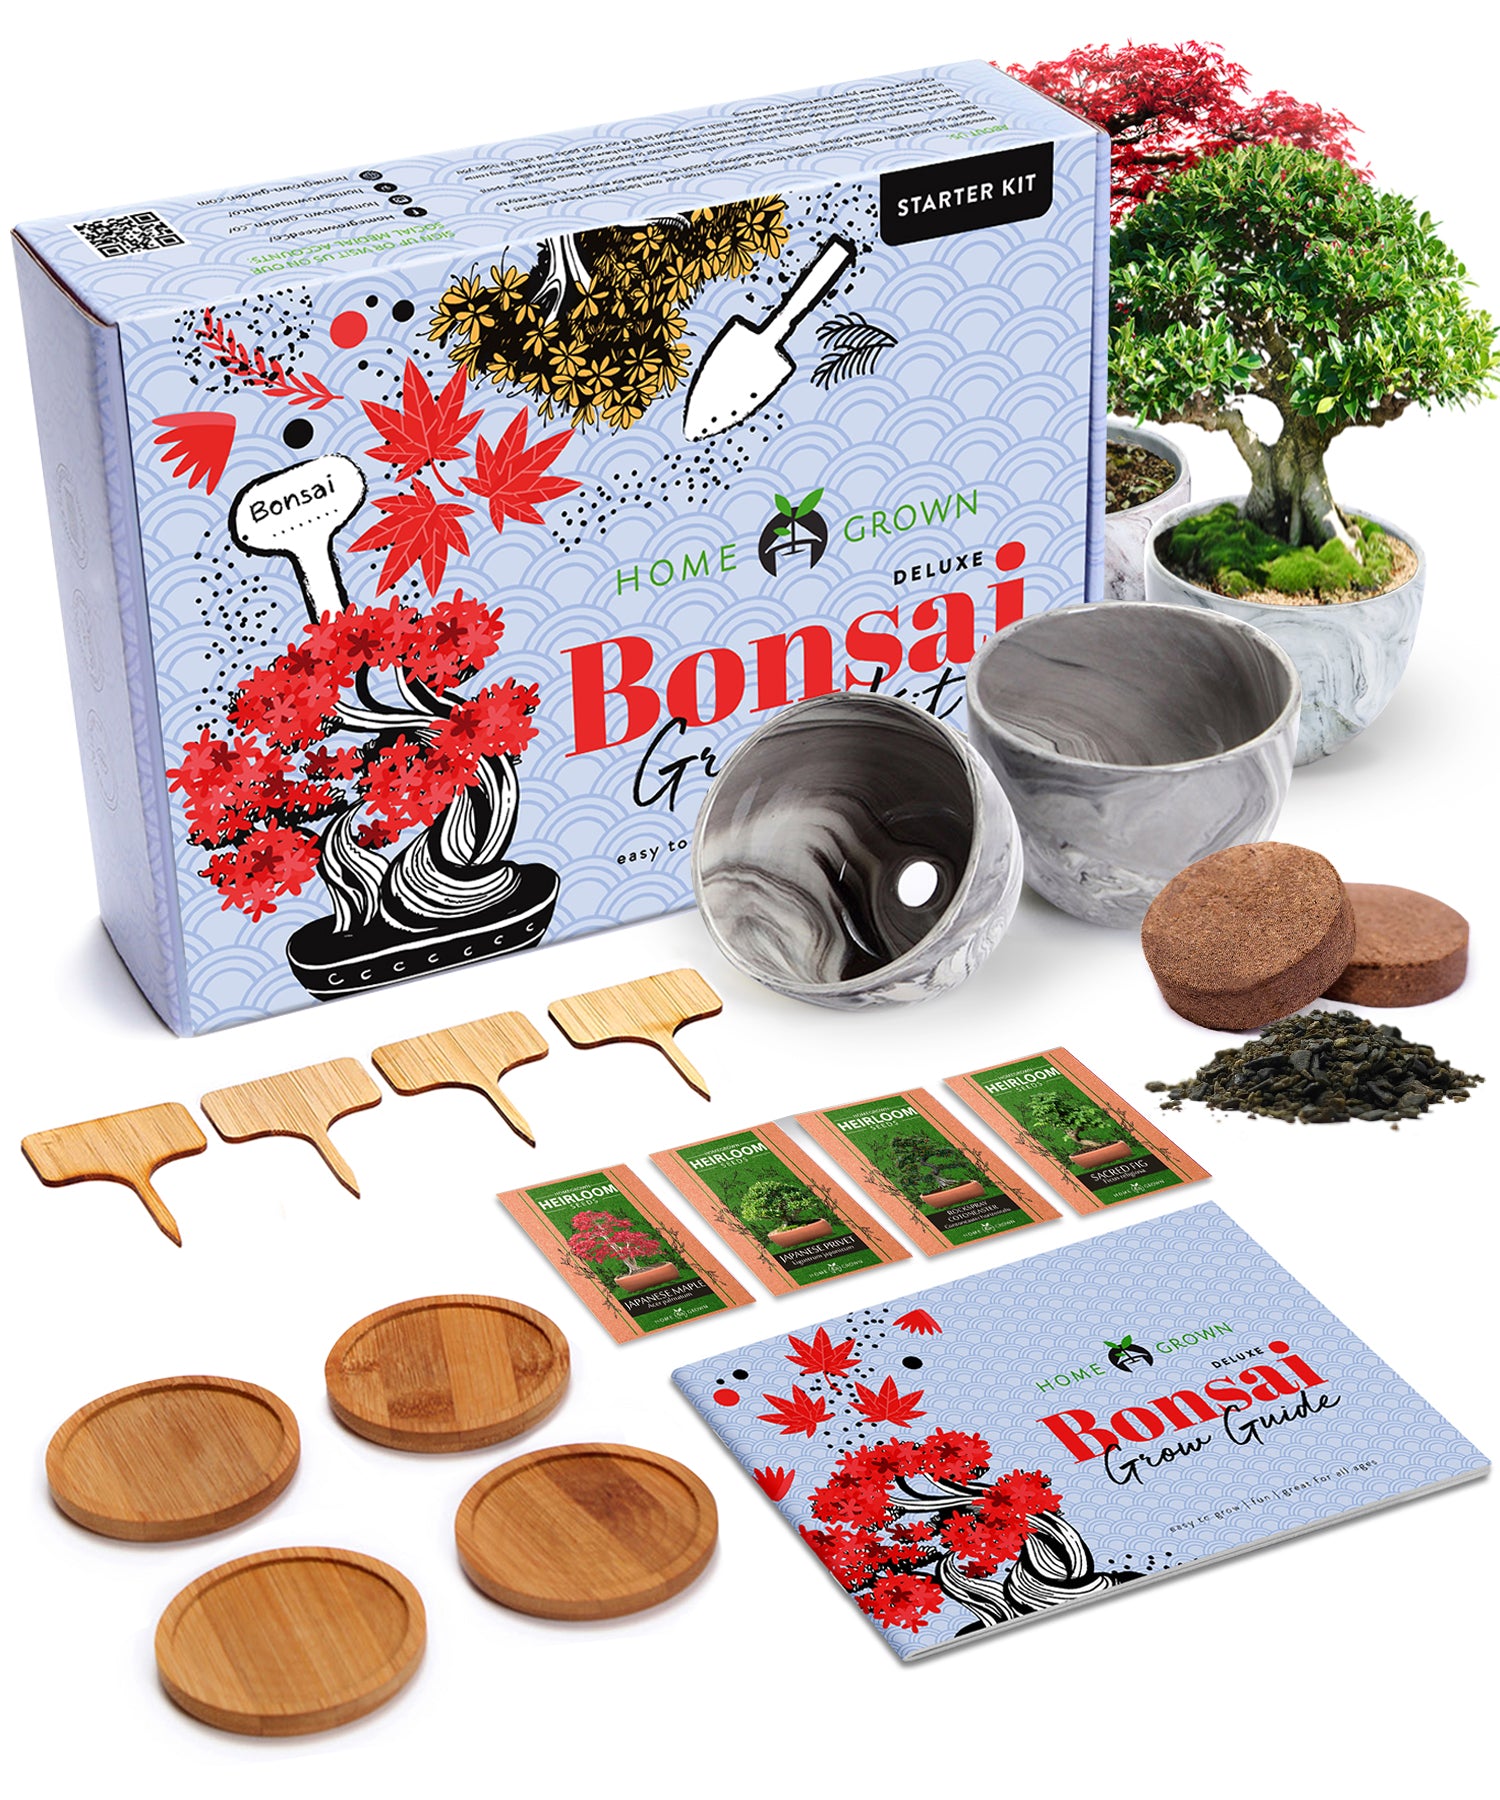
In conclusion, testing your seed germination at home is a critical step in ensuring a successful and productive growing season. By using one or more of these methods, you can assess the viability of your seeds and make informed decisions about how many to plant and how to care for them. With a little patience and attention to detail, you can maximize your chances of growing healthy and bountiful plants. You can also get your seeds from trusted brands that boasts high germination rates for their seeds like Home Grown Garden.
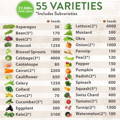

55 HEIRLOOM & NON-GMO VEGETABLE SEEDS - This pack includes a large variety of vegetables, fruits and lettuces. From fan favorites like Lima Bean, Waltham Broccoli, Straight Eight Cucumber, Bloomsdale spinach, and Sugar Snap Peas.
HIGH GERMINATION RATE - Don't worry about wasted seeds, our seeds have a consistently high germination rate of 85-95% under optimal conditions, and we include a helpful Homegrown Garden Growing Guide to ensure your success.
PERFECT FOR THIS SEASON OR LONG TERM STORAGE - These seeds are suitable for all seasons and come packaged in a waterproof, resealable pouch to maintain their freshness and quality for long-term storage.
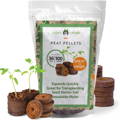

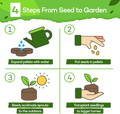
A Swell Start– Grow a bountiful garden with your seed starter soil mix for vegetables, herbs, and flowers from Home Grown. Your peat pellets are an excellent source of nutrition for young sprouts.
Simple Sprouts– Place your pellets in a watertight tray, expand them to full size with water, plant your seeds, and wait.
Easy to Transplant – After sprouting and standard hardening procedures, transfer your sprouts to potting soil or your garden. Bury your pellet in enough soil to cover it, gently pack it in, and water.
Choose the Right Size – Plant your herb garden seeds in 36 mm peat pellets. Use 42 mm pellets for midsize plants. Bigger plants such as peppers and tomatoes do well in large, 50 mm starter pods.